This post may contain affiliate links, which means if you make a purchase from one of these links I will get a commission.
I don’t like to think of these crafting posts as tutorials, because I am sure to leave something out and I am definitely NOT an expert. I like to think of them as guides, inspiration to get your own creative juices flowing. Most of my projects are with thrift store finds/stuff I already have around the house. So take a look around you with fresh eyes, hit that garage sale or favorite thrift store and make some magic of your own! Because when you make it yourself, you get to enjoy the bragging rights.
Glass etching is a perfect beginner craft. It’s one step and you don’t need to worry about colors, patterns, etc. Just pick a nice piece of decorative glass, a vase or wine glasses and in just a few minutes you will have a beautiful piece of decor that you can easily give as a gift.
A Maker’s Studio offers project bundles as well as individual products. These are projects that A Maker’s Studio founder, Amy Howard, makes right along with you and shows you all her tips and techniques, called Maker Mondays. This All Things Etching Bundle is one of them.
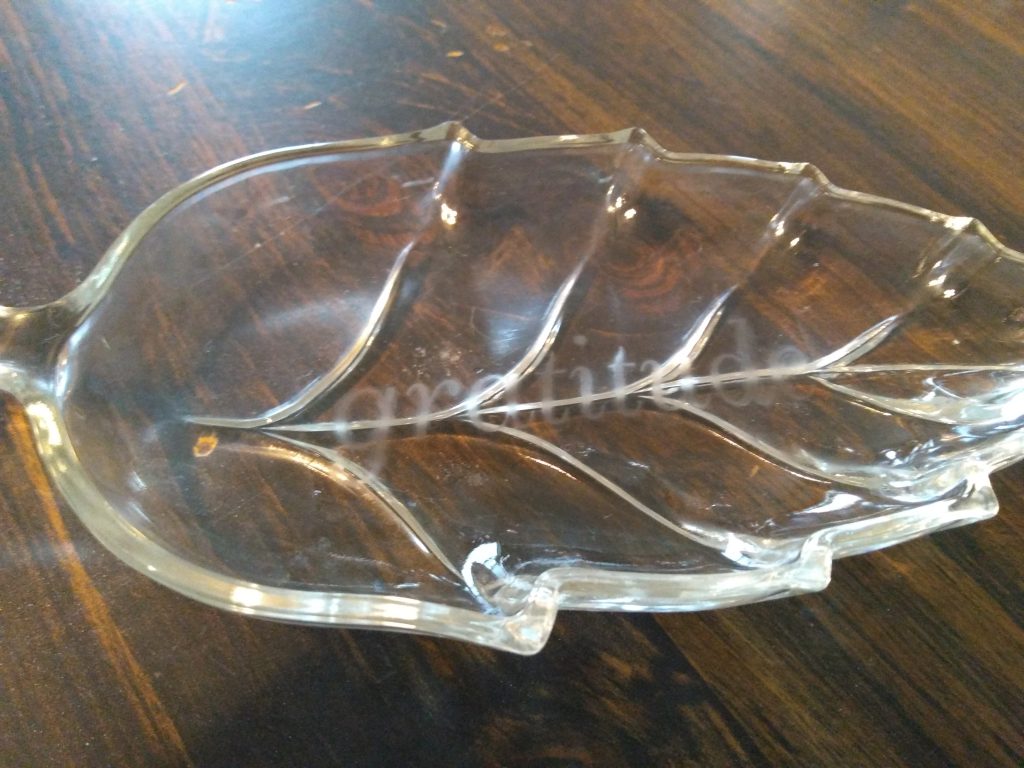
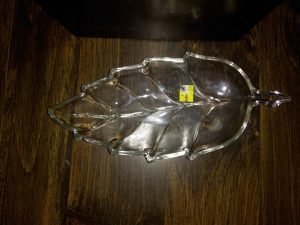
I found this leaf dish at the thrift store for a great price.
Supplies needed for etching
- glass to work on
- Be Still stencil
- etching cream
- artist’s brush
Tips for Glass Etching
A brand new A Maker’s Studio stencil is very adhesive and may tear bits of itself off and stick to your project, so if using a brand new stencil on paper, place the stencil on a piece of cloth or other surface and remove a couple of times to lessen the adhesion.
If you worry that you will spread the etching cream past the stencil and on to your surface, use a piece or two of painter’s tape on the edge of the stencil to avoid extraneous etching cream on your piece.
Spreaders can be cut to a more manageable size with a pair of scissors for more detailed or smaller work. When done with the spreader, simply wash ink or paint off and reuse.
Clean the reusable stencil with water and a lint-free sponge and let dry adhesive side up. When the stencil is dry, place protective backing on the adhesive side of stencil and store.
When using A Maker’s Studio Stencils, they are not cut out completely, the stencil is a mesh that requires pushing the etching cream through, not just laying the ink on top. Make sure to press the etching cream!
You want a stiff-bristled brush to work the etching cream and an artist’s brush is perfect. You can even snip off the tip of the bristles with a pair of scissors to make the brush even stiffer.
Thick fonts show up better for etching than thin ones, guess I could have made a better choice for my piece.
Glass Etching 101
- Protect your work surface and your clothing.
- Shake the etching cream well.
- Firmly press the stencil into place (A Maker’s Studio stencils are self-adhesive and reusable) and tape edges.
- Spread a thick layer of etching cream across the stencil and agitate the cream, pressing it into the stencil. Use up and down motions, side to side motions and swirling motions. Agitate for 10 minutes.
- Remove stencil and clean with water and a lint-free cloth. Let stencil dry adhesive side up and replace stencil’s protective backing to store.
- Let etching cream dry for an hour or so before washing off.
- Enjoy your fantastic creation!