This post may contain affiliate links, which means if you make a purchase from one of these links I will get a commission.
I don’t like to think of these crafting posts as tutorials, because I am sure to leave something out and I am definitely NOT an expert. I like to think of them as guides, inspiration to get your own creative juices flowing. Most of my projects are with thrift store finds/stuff I already have around the house. So take a look around you with fresh eyes, hit that garage sale or favorite thrift store and make some magic of your own! Because when you make it yourself, you get to enjoy the bragging rights.
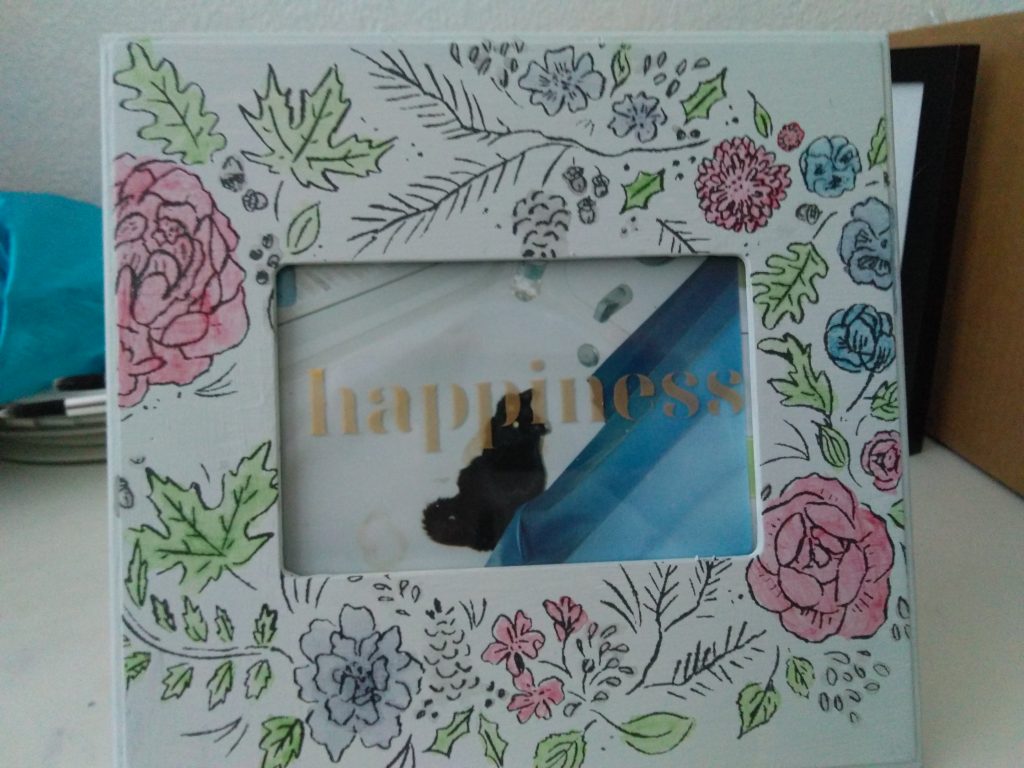
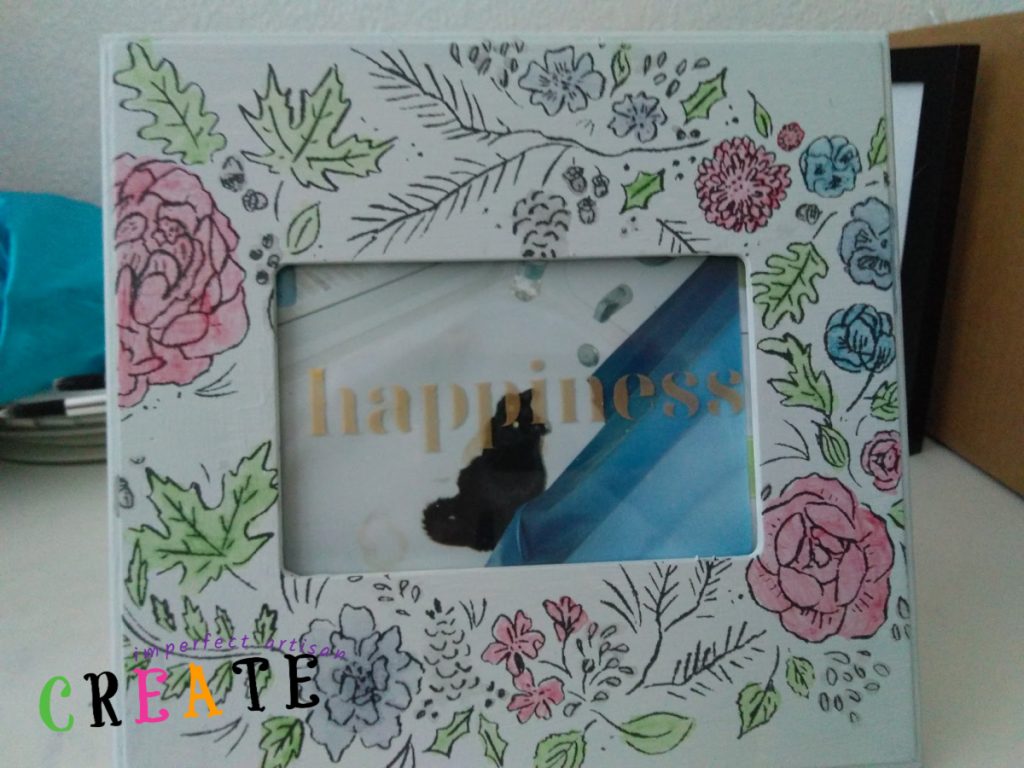
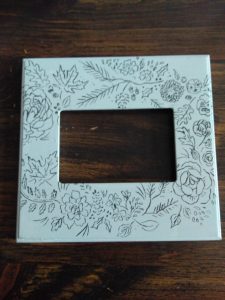
I felt bad with this frame because I forgot to take a photo of what the frame looked like when I purchased it. But it was white with dark blue lettering. Rescue Restore Paint covers amazingly well. It took 3 coats, but I covered very dark lettering with a very light color and I was really proud of that. I love this frame for this project because the emphasis is on the lovely watercolor flowers you can create, so definitely look for a wide frame for maximum impact!
A Maker’s Studio offers project bundles as well as individual products. These are projects that A Maker’s Studio founder, Amy Howard, makes right along with you and shows you all her tips and techniques, called Maker Mondays. This Watercolor Floral Frame is one of them.
Supplies Needed to Renew an Old Frame with Gorgeous Stencil and Watercolor Flowers
- putty knife
- a thick frame
- Rescue Restore Paint in Blessed
- foam sponge brush
- Season stencil
- Hold Your Horses Gel Ink
- Gel Ink in assorted colors
- ChalkArt Spreader
- Be Still Mesh Stencil
- painter’s tape
- Artist’s Brush
- paper plate (for mixing watercolors)
- water
- Metallic Gold ChalkArt
Tips for Renewing an Old Frame with Gorgeous Stencil and Watercolor Flowers
A brand new A Maker’s Studio stencil is very adhesive and may tear bits of itself off and stick to your project, so if using a brand new stencil on paper, place the stencil on a piece of cloth or other surface and remove a couple of times to lessen the adhesion.
If you worry that you will spread the Gel Ink past the stencil and on to your surface, use a piece or two of painter’s tape on the edge of the stencil to avoid extraneous ink on your piece.
Spreaders can be cut to a more manageable size with a pair of scissors for more detailed or smaller work. When done with the spreader, simply wash ink or paint off and reuse.
Clean the reusable stencil with water and a lint-free sponge and let dry adhesive side up. When the stencil is dry place protective backing on the adhesive side of stencil and store.
When using A Maker’s Studio Stencils, they are not cut out completely, the stencil is a mesh that requires pushing the ink or paint through, not just laying the ink on top. Make sure to press the ink!
Gel Ink mixed with just a teaspoon or two of water makes beautiful, vibrant watercolors.
Renewing an Old Frame with Gorgeous Stencil and Watercolor Flowers 101
- Protect your work surface and your clothing.
- Carefully remove backing and picture from frame (a putty knife is perfect for this)
- Stir your Rescue Restore Paint well and paint Blessed Rescue Restore Paint onto your frame with a foam sponge brush, using long strokes. Apply a thin coat. Let dry 30 minutes and add a second coat. Let dry.
- Once the frame is dry, apply the wreath flower portion of the stencil around the frame edges, making sure to adhere stencil securely. You can run the edge of the spreader over the stencil to make sure all the sticky parts stick so that your ink or paint won’t bleed under the stencil. Secure edges with painter’s tape if you’re worried you’ll get Gel Ink outside the lines.
- Using the spreader apply Hold Your Horses Gel Ink to stencil, making sure to press through the mesh so that the color goes all the way through to the surface.
- Clean the reusable stencil with water and a lint-free sponge and let dry adhesive side up.
- When the stencil is dry place protective backing on the adhesive side of stencil and store.
- Let the Gel Ink on the frame dry.
- Squirt a small amount of Gel Ink onto a paper plate and drip a small amount of water next to it, using your artist’s brush, mix a bit of the paint and water together adding more paint or water to create the desired color, keeping the consistency of watercolor paint.
- Mix colors if you want and enjoy some time painting the stencil outline with your artist’s brush to look like watercolor. Let dry.
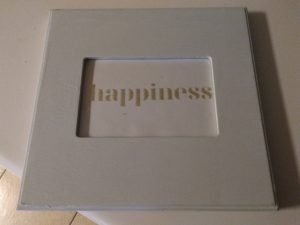
- Apply inspirational words stencil to the glass from the frame, using all the above techniques and apply Gold Metallic ChalkArt with the spreader. Let dry.
- Reassemble the frame with your favorite photo and…
- Enjoy your fantastic creation!