This post may contain affiliate links, which means if you make a purchase from one of these links I will get a commission.
I don’t like to think of these crafting posts as tutorials, because I am sure to leave something out and I am definitely NOT an expert. I like to think of them as guides, inspiration to get your own creative juices flowing. Most of my projects are with thrift store finds/stuff I already have around the house. So take a look around you with fresh eyes, hit that garage sale or favorite thrift store and make some magic of your own! Because when you make it yourself, you get to enjoy the bragging rights.
Framing a piece of art is expensive! There are no shortage of frames already in existence hanging out in the garage, at a yard sale or at a thrift store. The problem is that they are ugly. Well, folks, this isn’t a problem for you anymore!
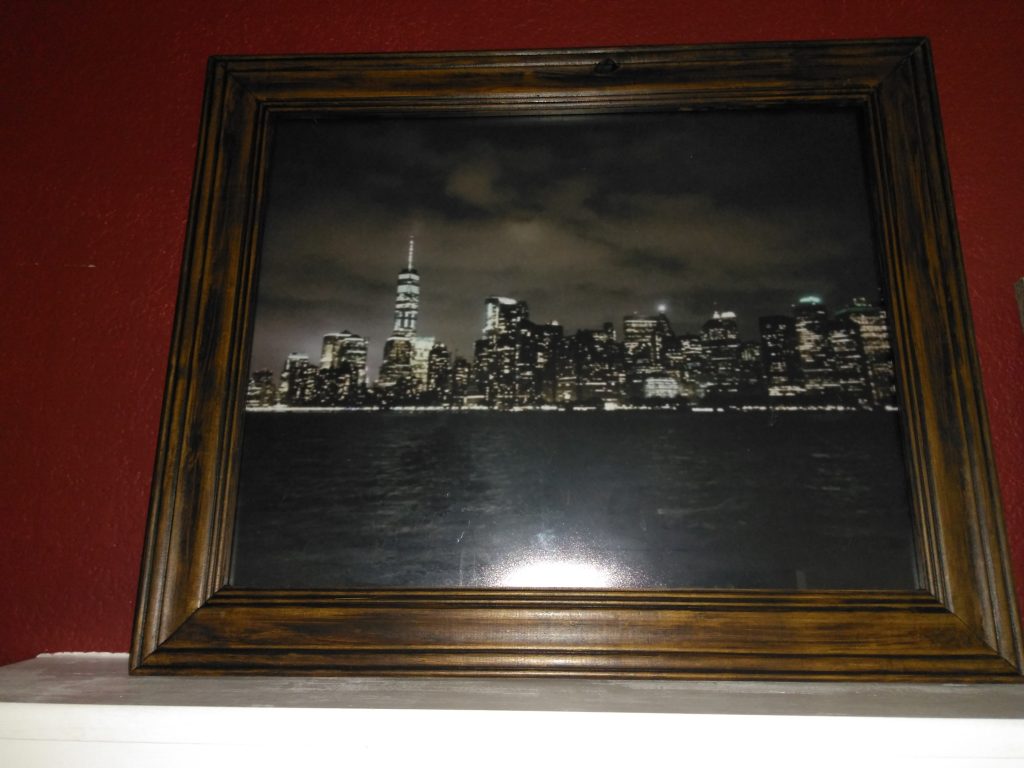
My daughter took a school trip to New York City and came home with a million pictures. There was one picture in particular of the NYC skyline that my husband thought was amazing and told her over and over again that she should frame it for him to hang up on the wall. I was looking for a great and inexpensive anniversary gift for my hubby and this fit the bill perfectly. I just sent my photo to the local Walgreens to be printed on photo paper in the correct dimensions to fit my frame. They were able to print it for me for less than $5! Next, I grabbed a sad-looking frame with great potential on a trip to the thrift store. An afternoon later and I have a wow-worthy piece of art to hang in my home.

Supplies Needed to Refinish Wood
- a finished wood piece that needs some love
- putty knife
- furniture cleaner
- lint-free cloth
- English Walnut gel stain
- dark antiquing wax
- cotton cloth
- synthetic bristle brush
Tips for Refinishing Wood
Don’t be afraid to use multiple coats to get the desired depth of color.
If you use wax, you don’t need a sealant to seal your piece. Wax is great for non-high traffic pieces like a picture frame. Refinished pieces that will see significant use are better off with a sealant.
Refinishing Wood 101
- Protect your work surface and your clothing.
- Take the picture, backing and glass apart carefully, a putty knife is a great tool for this job.
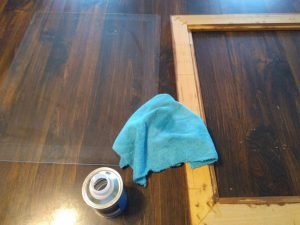
- Clean the glass (if using) and frame with furniture cleaner in a well-ventilated area using a lint-free cloth and let dry.
- Clean your wood with furniture cleaner and a lint-free cloth and let dry.
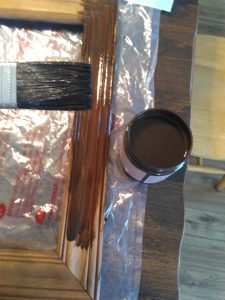
- Cover the entire surface of the frame with a thin coat of stain using long strokes.
- Wipe excess gel stain away to get the color desired.
- Let dry for an hour.
- Repeat, adding a second or even third coat to achieve the depth of color desired.
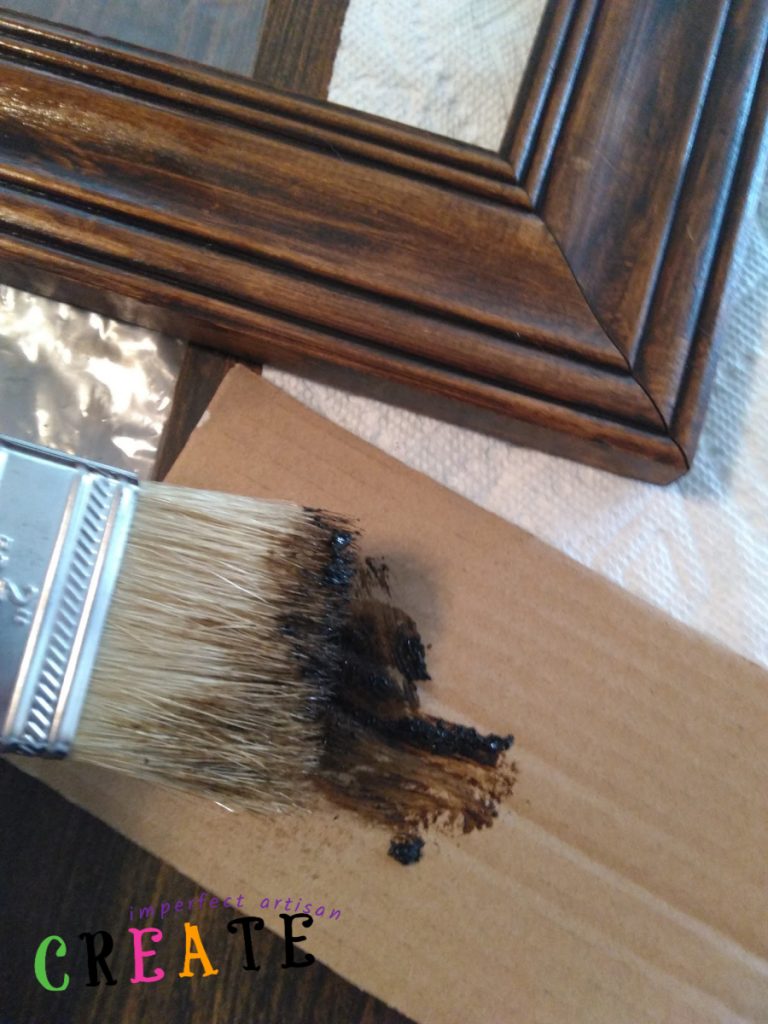
- Squirt a small amount of antiquing wax on a paper plate or piece of cardboard and load onto the brush.
- Spread a light coat of wax onto areas of the wood that you want to accentuate, you don’t need to coat the entire piece.
- Wipe excess wax with a cotton cloth.
- Let dry.
- Buff entire piece with a cotton cloth
- Be sure to clean brushes with furniture cleaner.
- Replace glass, picture, and backing.
- Enjoy your fantastic creation!