This post may contain affiliate links, which means if you make a purchase from one of these links I will get a commission.
I don’t like to think of these crafting posts as tutorials, because I am sure to leave something out and I am definitely NOT an expert. I like to think of them as guides, inspiration to get your own creative juices flowing. Most of my projects are with thrift store finds/stuff I already have around the house. So take a look around you with fresh eyes, hit that garage sale or favorite thrift store and make some magic of your own! Because when you make it yourself, you get to enjoy the bragging rights.
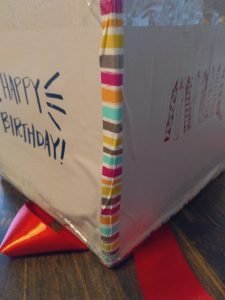
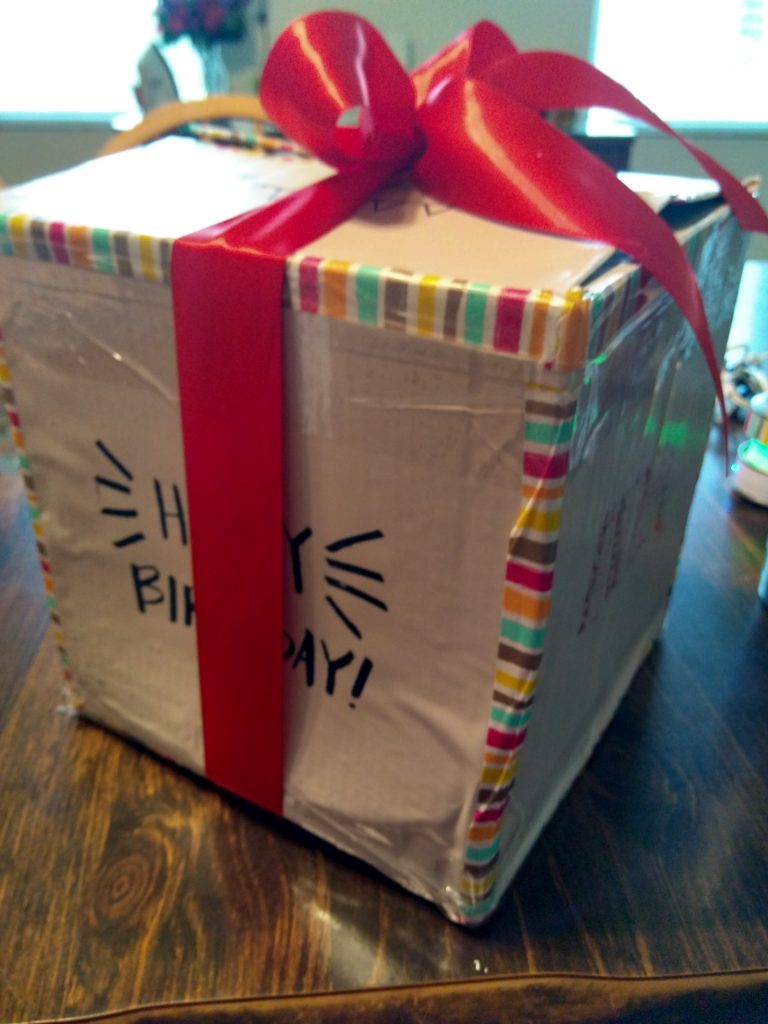
Wrapping paper kind of stresses me out. It creates a lot of waste and costs money and no one really cares that much about it. I stopped wrapping my kids’ presents in wrapping paper many years ago instead, I use a random Amazon or some other good-sized box that I have lying around the house. But with the easy of creating something beautiful with A Maker’s Studio Stencils, I decided to make a decorated reusable gift box, perfect for birthdays.
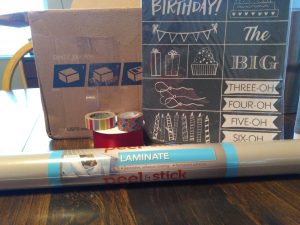

Supplies Needed for Creating a Stenciled, Reusable Recycled Gift Box
- shelf liner paper
- washi tape
- packaging tape
- ribbon from the craft store
- a sturdy box
- Happy Birthday stencils
- Gel Ink in Bless His Heart and Hush Your Mouth
- ChalkArt Spreader
- Painter’s tape
Tips for Creating a Stenciled, Reusable Recycled Gift Box
A brand new A Maker’s Studio stencil is very adhesive and may tear bits of itself off and stick to your project, so if using a brand new stencil on paper, place the stencil on a piece of cloth or other surface and remove a couple of times to lessen the adhesion.
If you worry that you will spread the Gel Ink past the stencil and on to your surface, use a piece or two of painter’s tape on the edge of the stencil to avoid extraneous Gel Ink on your piece.
Spreaders can be cut to a more manageable size with a pair of scissors for more detailed or smaller work. When done with the spreader, simply wash ink or paint off and reuse.
Clean the reusable stencil with water and a lint-free sponge and let dry adhesive side up. When the stencil is dry place protective backing on the adhesive side of stencil and store.
When using A Maker’s Studio Stencils, they are not cut out completely, the stencil is a mesh that requires pushing the ink or paint through, not just laying the ink on top. Make sure to press the ink!
Washi tape on the seams of the shelf liner gives a finished look and adds another pop of color to your project.
Creating a Stenciled, Reusable Recycled Gift Box 101
- Protect your work surface and your clothing.
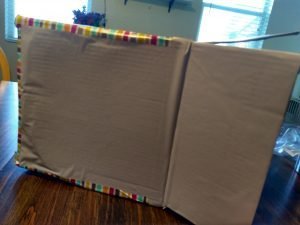
- Measure and cut adhesive shelf liner paper to fit the sides and top of your box.
- Decorate shelf liner paper seams with washi tape as desired.
- Reinforce edges of shelf liner paper with clear packing tape to make sure that the edges of the shelf lining paper won’t come unstuck.
- Adhere the stencil to the box securing edges with painter’s tape if using and using the spreader press the Gel Ink through the stencil mesh to decorate the box.
- Carefully remove the stencil and painter’s tape and clean the reusable stencil with water and a lint-free sponge and let dry adhesive side up.
- When the stencil is dry place protective backing on the adhesive side of stencil and store.
- Let the Gel Ink dry completely.
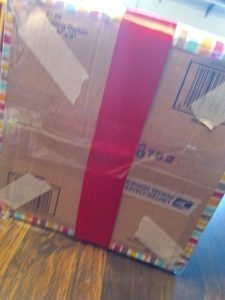
- Cut ribbon to size to hold box closed and secure ribbon to the bottom of the box.
- Enjoy your fantastic creation!